Your web server sits in one location. Your visitors are everywhere. Every time someone loads a page, their request travels to your server and back. The further away they are, the longer that takes.
Edge caching solves this by storing your pages on servers distributed around the world. When a visitor loads your site, they get the page from the nearest edge location instead of your origin server. The result is faster load times and dramatically lower server response time.
TL;DR
Edge caching stores your full pages on a global CDN so visitors get served from a nearby location instead of your origin server. This reduces server response time drastically and makes pages load faster regardless of where your visitors are.
BerqWP CDN delivers static files (images, CSS, JS) through CDN automatically. Cloudflare Edge Cache delivers your full HTML pages through Cloudflare’s CDN network. BerqWP’s Cloudflare Edge Cache integration connects both: BerqWP generates optimized cached pages and Cloudflare delivers them globally.
To enable it you need a site already proxied through Cloudflare and your Global API Key, Zone ID, and account email. Setup takes under two minutes inside BerqWP > Integration.
Edge Caching in WordPress
WordPress generates pages dynamically. Every page load triggers PHP execution and database queries before anything gets sent to the browser. Caching plugins solve this by generating static HTML versions of your pages and serving those instead of rebuilding the page on every request.
But even with a caching plugin, those cached pages still get served from your origin server. If your server is in the US and a visitor is in Germany, they still wait for the round trip.
Edge caching takes the next step. It pushes those cached pages out to a global CDN network. Now your visitors get served from the nearest edge location, not your origin server. Server response time drops to near zero for cached pages.
This is what separates basic caching from edge caching. Basic caching reduces the work your server does. Edge caching reduces the distance your pages travel.
BerqWP CDN vs Cloudflare Edge Cache
BerqWP includes a CDN out of the box. It is worth understanding what each layer does.
BerqWP CDN delivers your static files through CDN. Images, CSS, JavaScript. These files are served from edge locations automatically with no setup required.
Cloudflare Edge Cache delivers your full pages through Cloudflare’s CDN network. Not just static assets but the entire HTML response. When a visitor hits your URL, Cloudflare serves the complete cached page from the edge location nearest to them. Your origin server is not touched.
BerqWP CDN handles the assets. Cloudflare Edge Cache handles the pages. Together they mean almost nothing comes from your origin server for cached visitors.
BerqWP Cloudflare Edge Cache Integration
BerqWP generates optimized, cached versions of your pages through the Photon Engine. The Cloudflare Edge Cache integration takes those BerqWP-cached pages and delivers them through Cloudflare’s global CDN network.
The effect is significant. Pages load from an edge server a few milliseconds away from your visitor instead of traveling across the internet to your origin. Server response time drops drastically. TTFB improves. The entire page experience feels instant.
Requirements
Your site must be proxied through Cloudflare (orange cloud enabled in your Cloudflare DNS settings). You can verify this by checking your nameservers at dnschecker.org. If you see ns.cloudflare.com in the results, you are on Cloudflare.
You will also need three things from your Cloudflare account: your Global API Key, your Zone ID, and your account email.
Setup
Integrating Cloudflare Edge Cache with BerqWP is easy. Here’s how:
Step 1: Get your Cloudflare details
- Log in to your Cloudflare account at dash.cloudflare.com.
- Go to your Cloudflare dashboard and gather:
- Global API Key: Under “API Tokens” in your “My Profile” settings.
- Zone ID: Found in the “Overview” tab > domain name.
- Account Email: Your Cloudflare login email.
Step 2: Connect in BerqWP
- Log in to your WordPress dashboard.
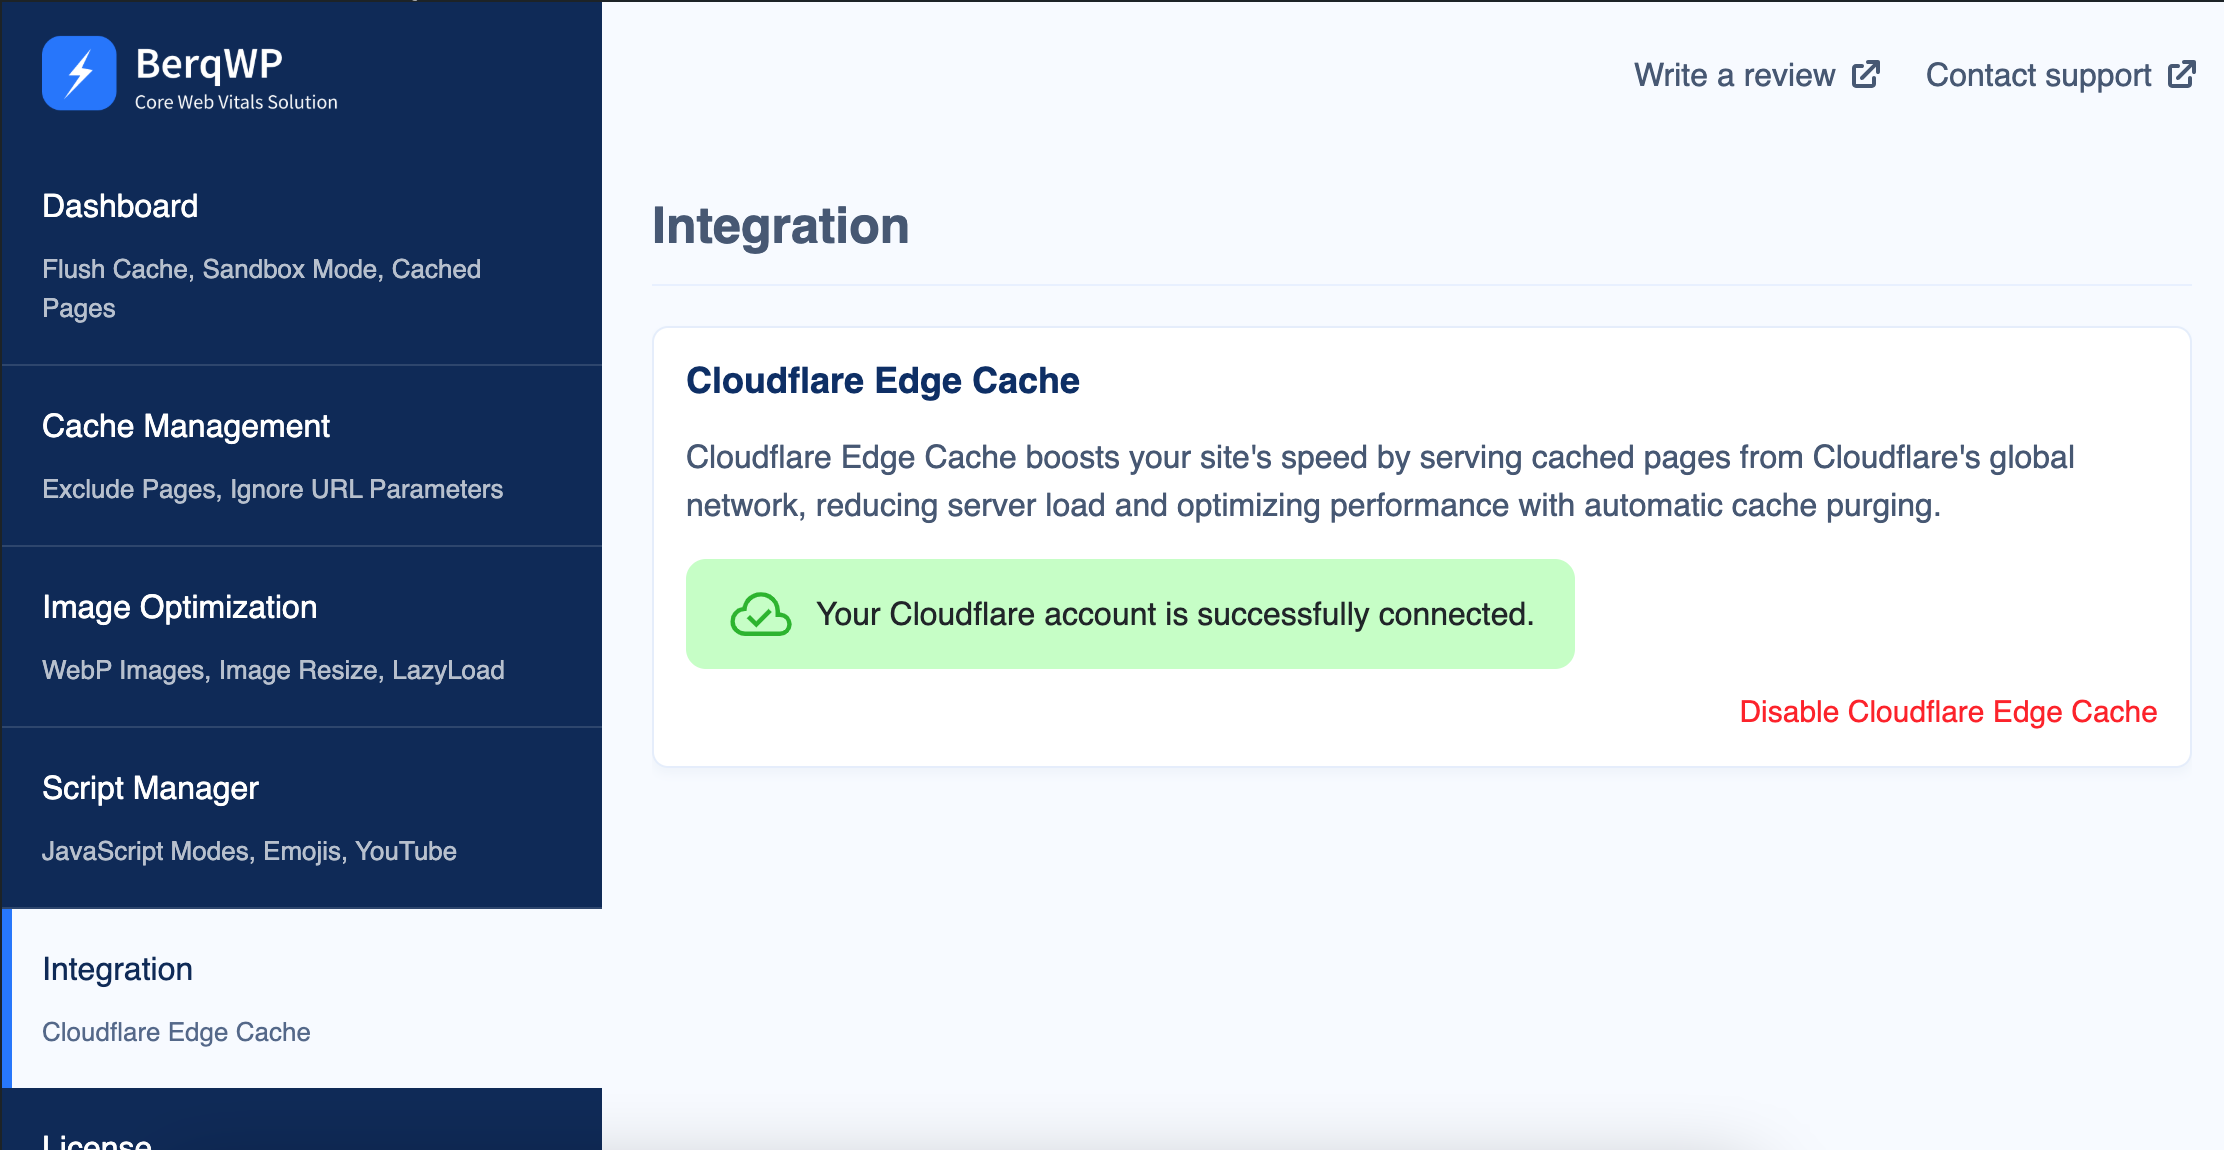
- Navigate to BerqWP > Integration tab.
- Enter your Global API Key, Zone ID, and Account Email in the provided fields.
- Click Connect Cloudflare.
Step 3: Verify
Once connected, you’ll see a message confirming the integration. BerqWP will automatically set up cache rules to enable Edge Cache on your website.